Get Started with Stream Manager
From download to your first organized stream, then built into your routine.
First-Time Setup
- 1
Download and run
Download the latest Windows release and run it. There is no installer and nothing to extract, so it runs from anywhere and can be moved freely.
Windows SmartScreen may warn you on first launch, since Stream Manager is an unsigned indie build. Click "More info", then "Run anyway". Here's why that happens and why it's safe.
- 2
Choose your Streams folder
Point Stream Manager at the main folder where your recordings live. Your stream details are stored alongside your files, so the whole library stays portable.
- 3
Let it detect your structure
Stream Manager scans the folder, figures out how it is organized, and pre-selects a mode. Folder-per-stream is recommended; a flat "dump" folder works but disables some features, and you can convert it during setup or later in Settings.
- 4
Browse and edit your streams
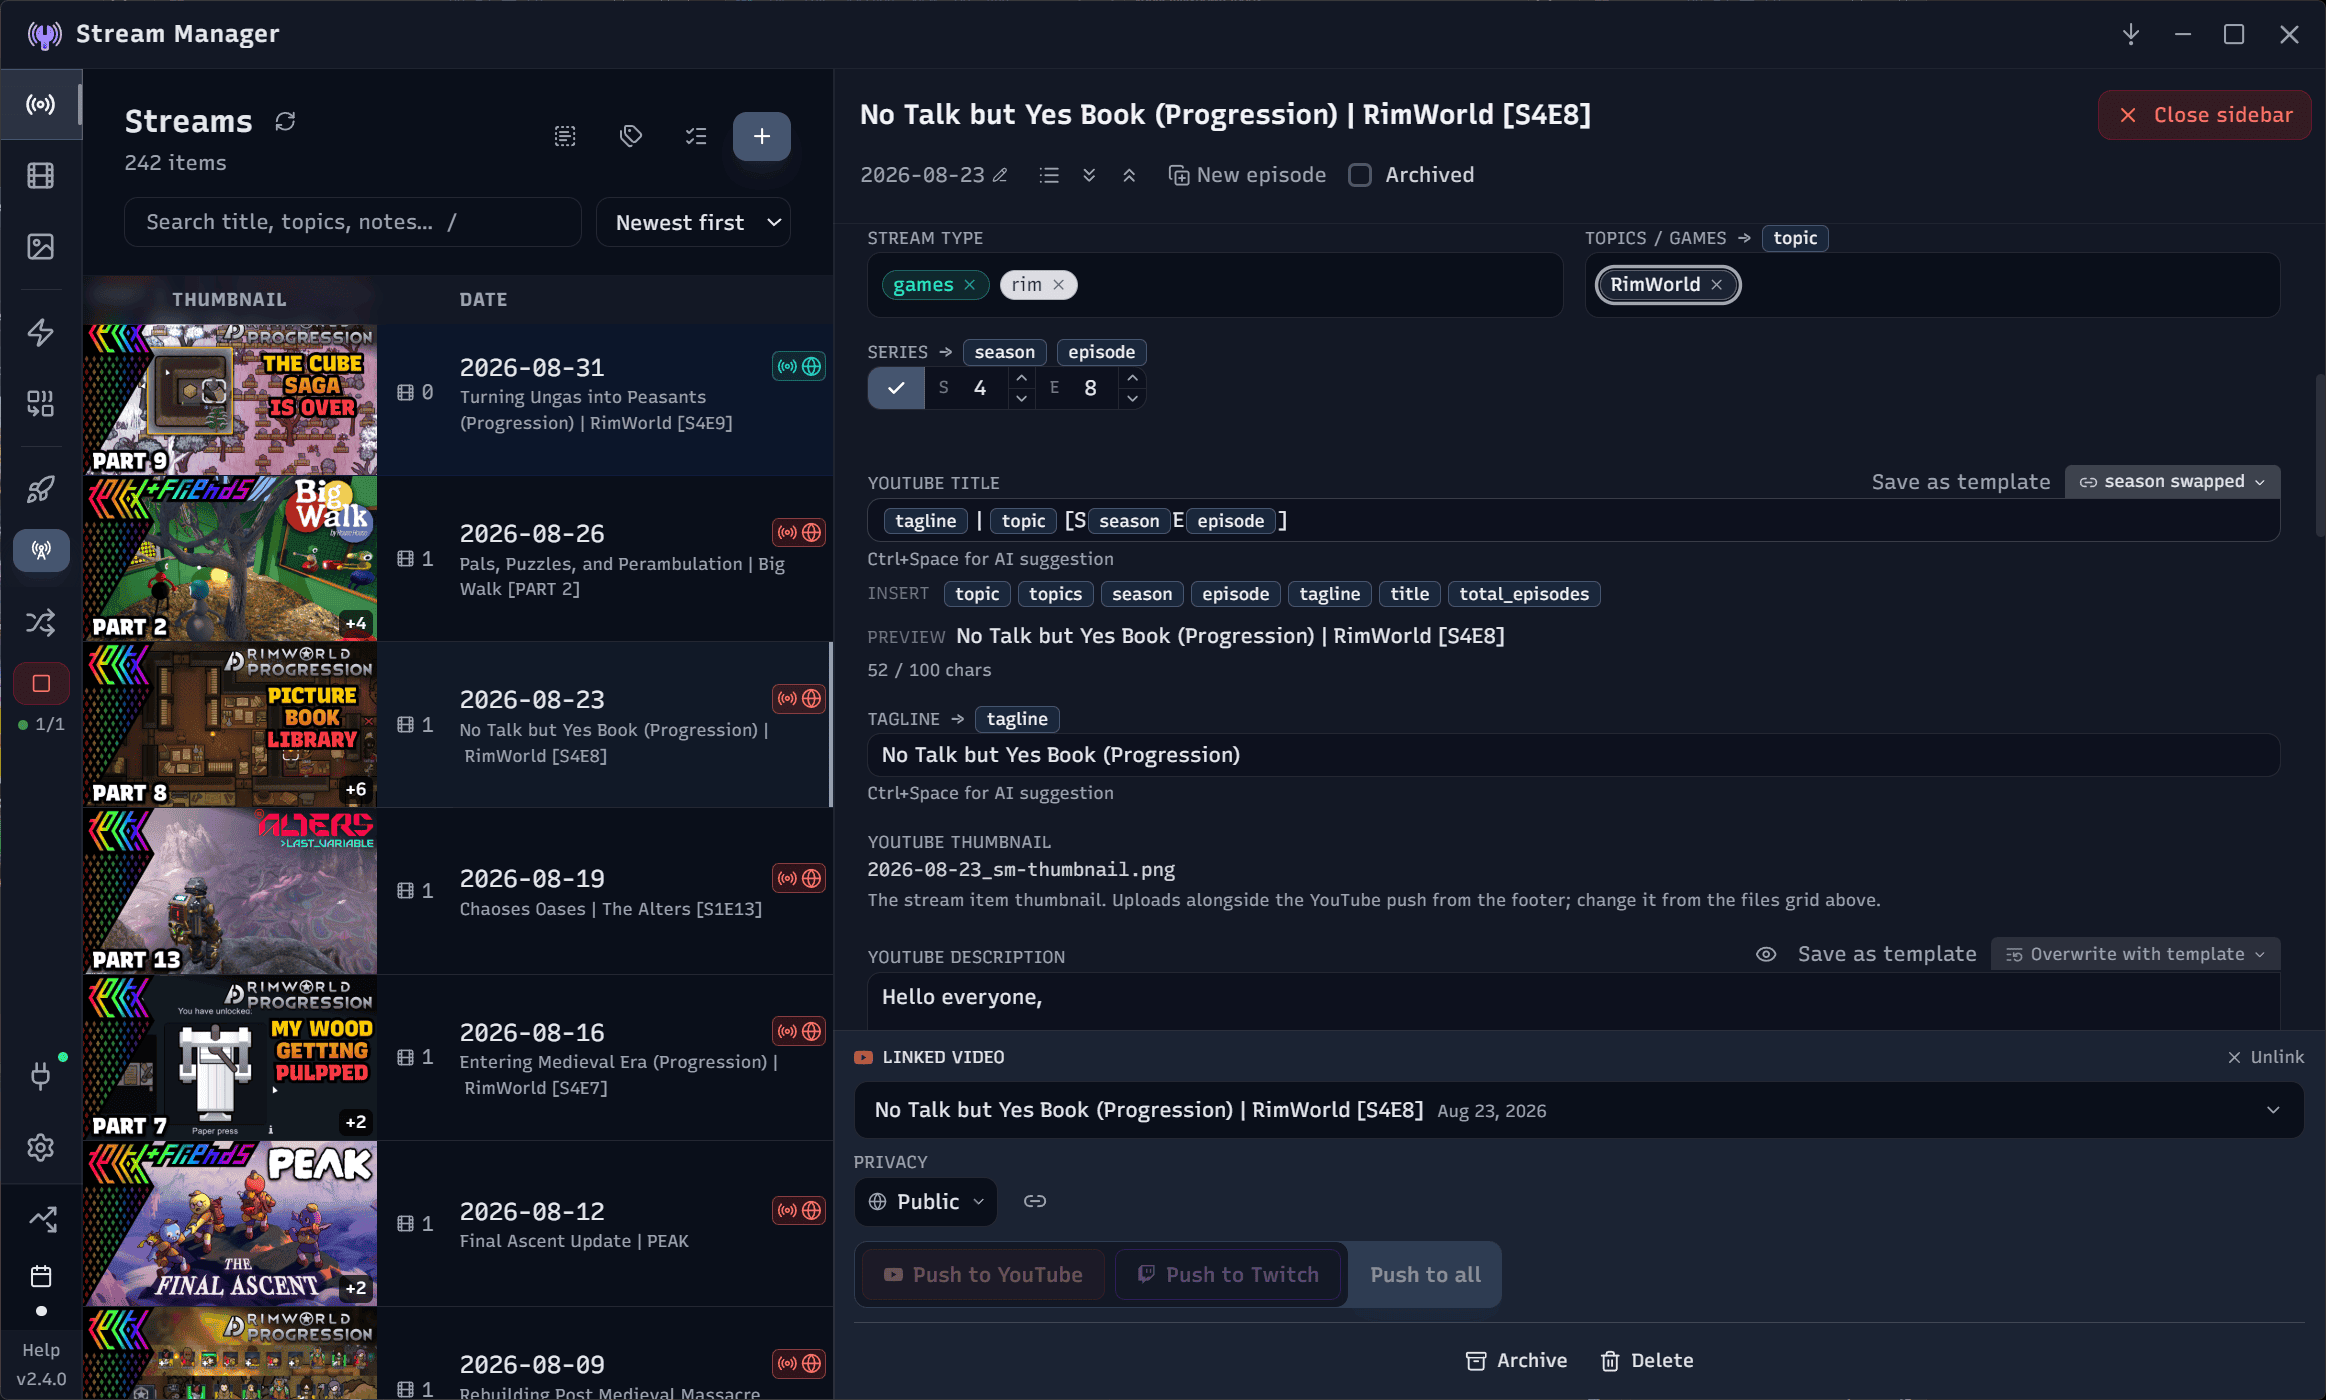
Your videos, thumbnails, and related files are grouped into stream items. Click one to view and edit its games, tags, comments, and platform details.
- 5
Connect your accounts (optional)
Link YouTube and Twitch to sync your metadata, and add a Claude API key for AI-assisted details. YouTube users can also enable Stream Relay to go live automatically. YouTube needs a one-time trip through the Google Cloud console, which the app guides you through: see Connecting YouTube for what that involves and why.
Your Streaming Workflow
Once you are set up, this is the loop for every stream.
Create your stream first
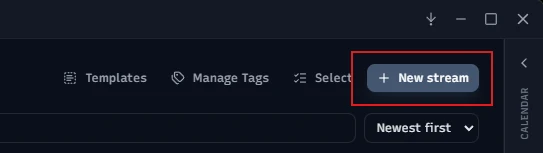
Before going live, click New Stream and fill in the details so everything is ready when your recording lands.
Record to a dedicated folder
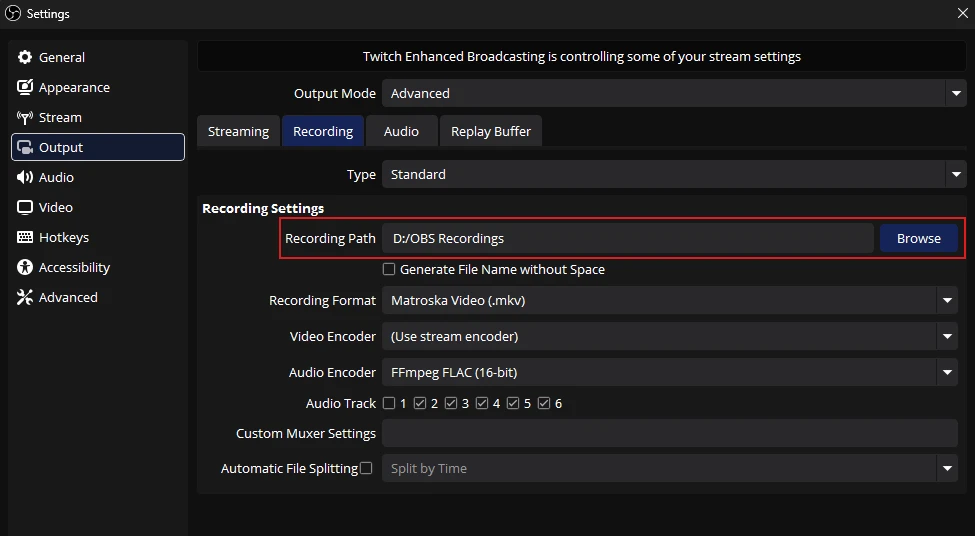
Set your streaming software to save recordings to a normal local folder. In OBS that is Settings, then Output, then Recording, then Recording Path.
Let an auto-rule organize it
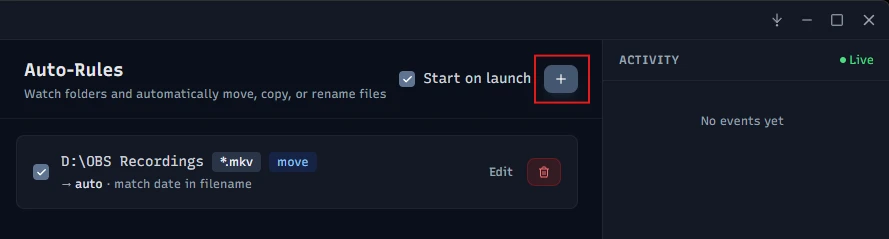
Set up an auto-rule that watches your recordings folder and automatically moves and renames new files into your Streams library, so finished streams sort themselves.
Route through Stream Relay (optional)
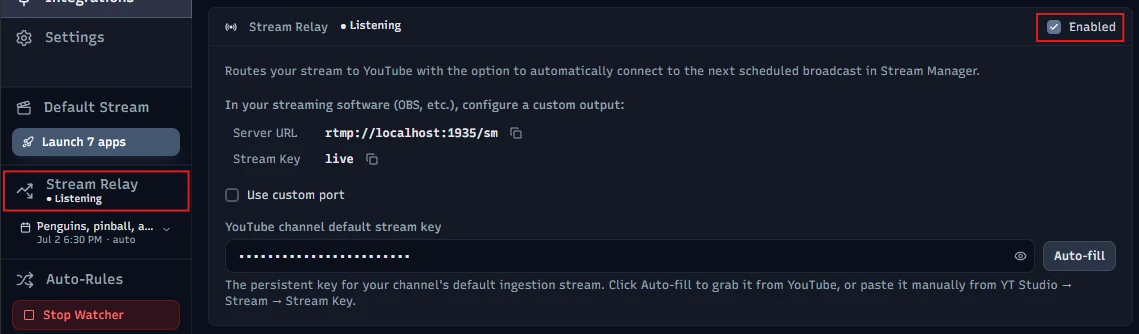
If you have set up the relay, point your encoder at Stream Manager instead of YouTube. It binds your scheduled broadcast, takes it live when you start, and ends it when you stop.
Go live and stream your heart out
Everything is in place. When you stop, Stream Manager picks it back up.
Wrap up afterward
Stream Manager auto-organizes your recording. Find the session on the Streams page and add any missing details, then review it in the player, export clips for social media, or send it to the converter for archiving.